Posted on Leave a comment

An Indoor Garden Update – Winter Solstice 2024

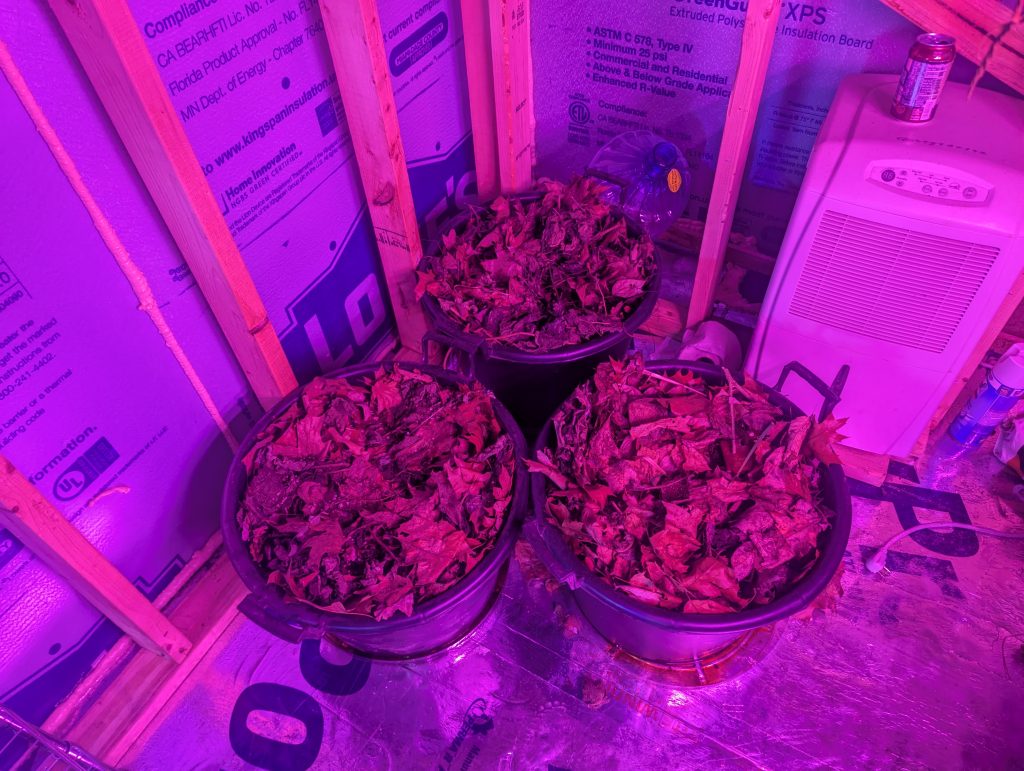
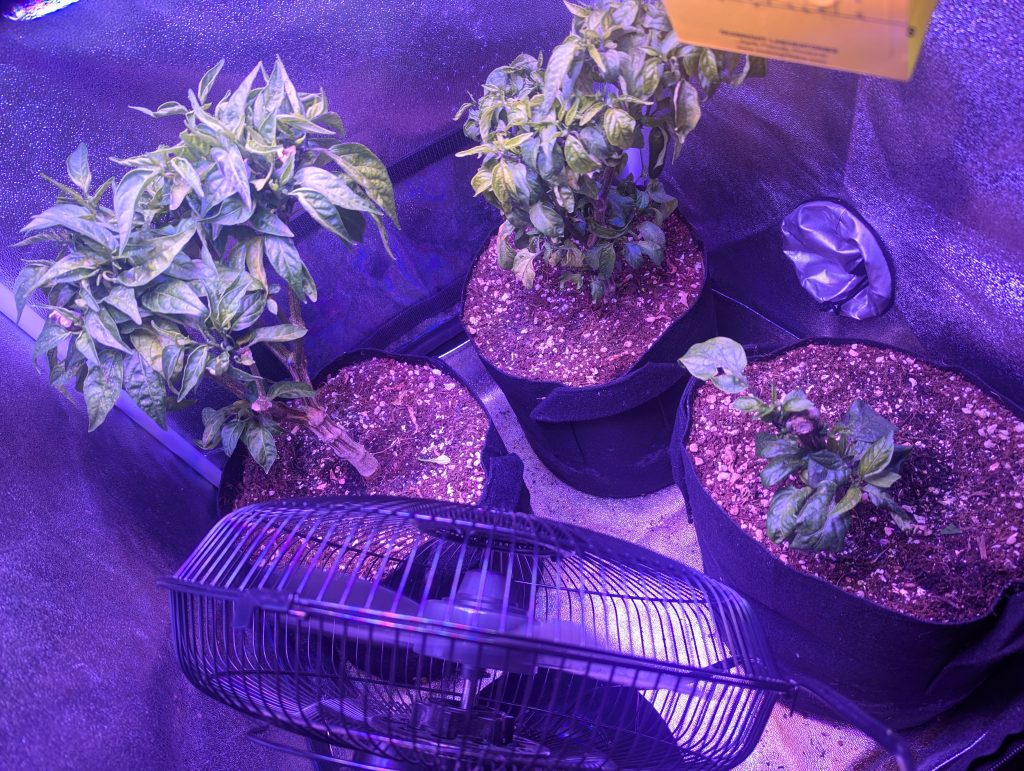
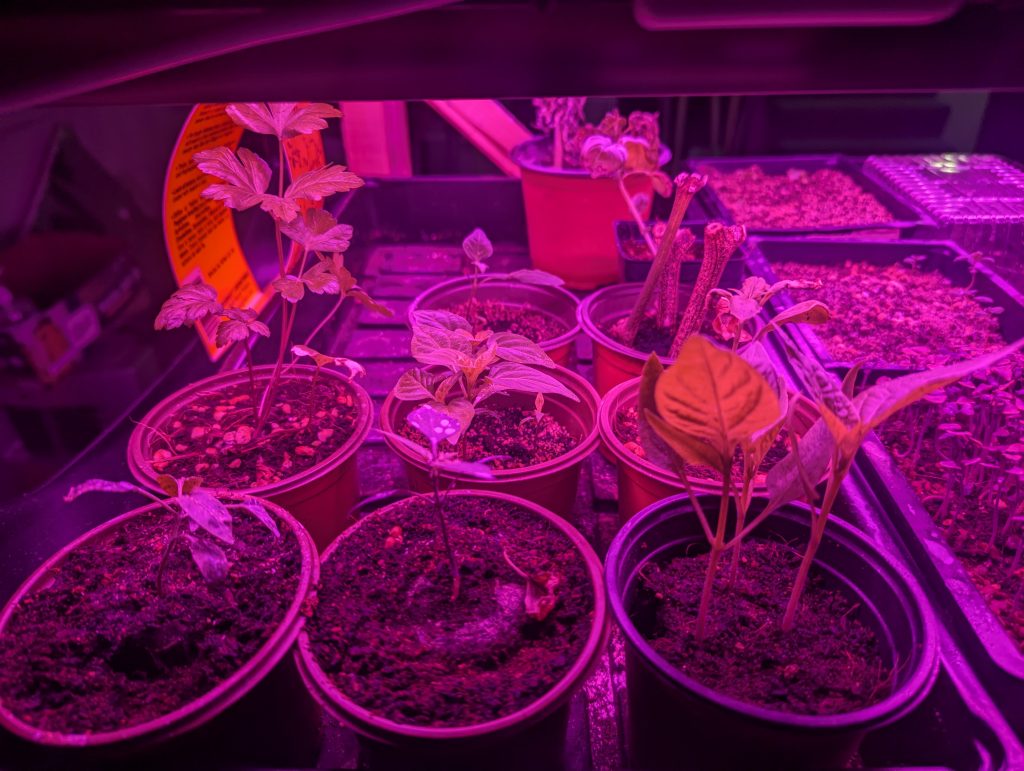
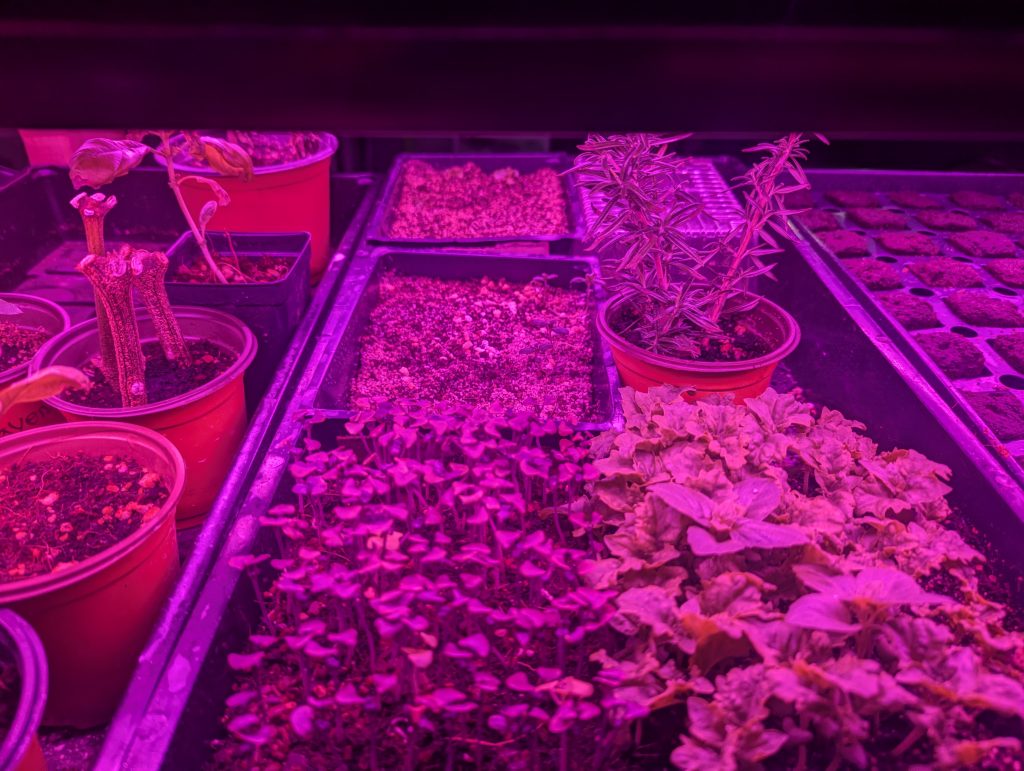
They say – I’m still not sure who “they” are in all of these scenarios – regardless, “they” say a picture is worth a thousand words so this post will be a picture walk-through of the indoor gardens as they are today – 16 December 2024. I am battling a pretty severe aphid outbreak and controlling fungus gnats with a combination of diatomaceous earth (DE) and Castile soap so that is the cause for any residue noted on leaves.

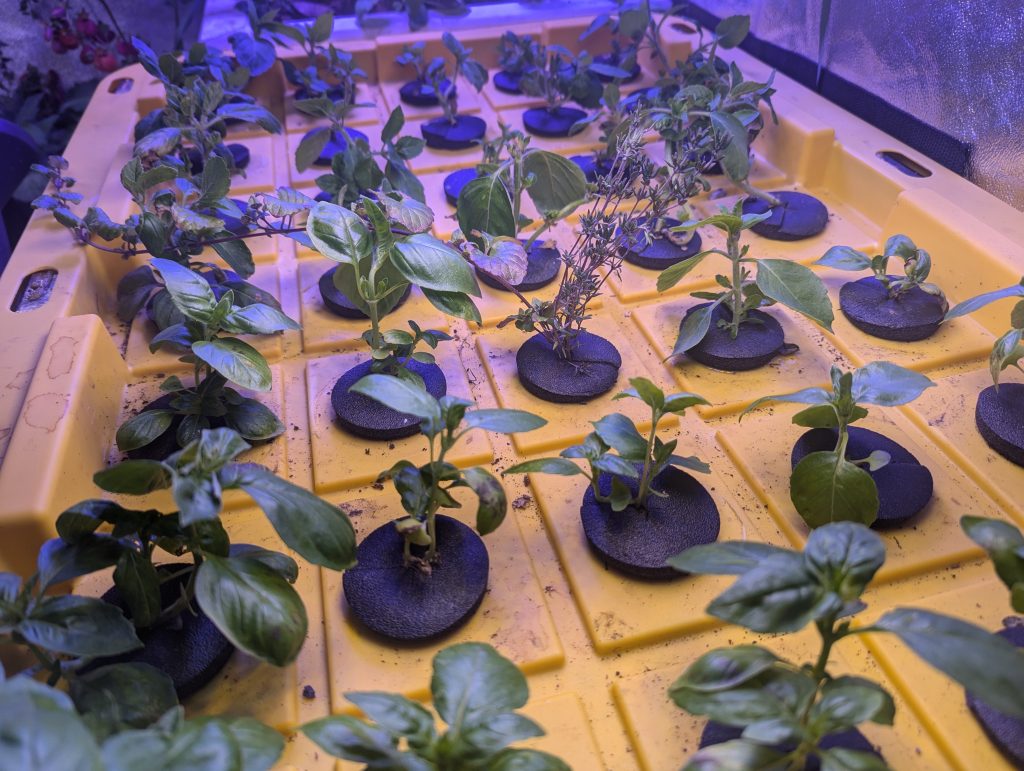
Front right to left, working backwards the same:

Front right to left, working backwards the same: Saber/seratta basil, purple ruffled basil, rosemary cuttings, za’atar thyme variety, empty lid, culantro

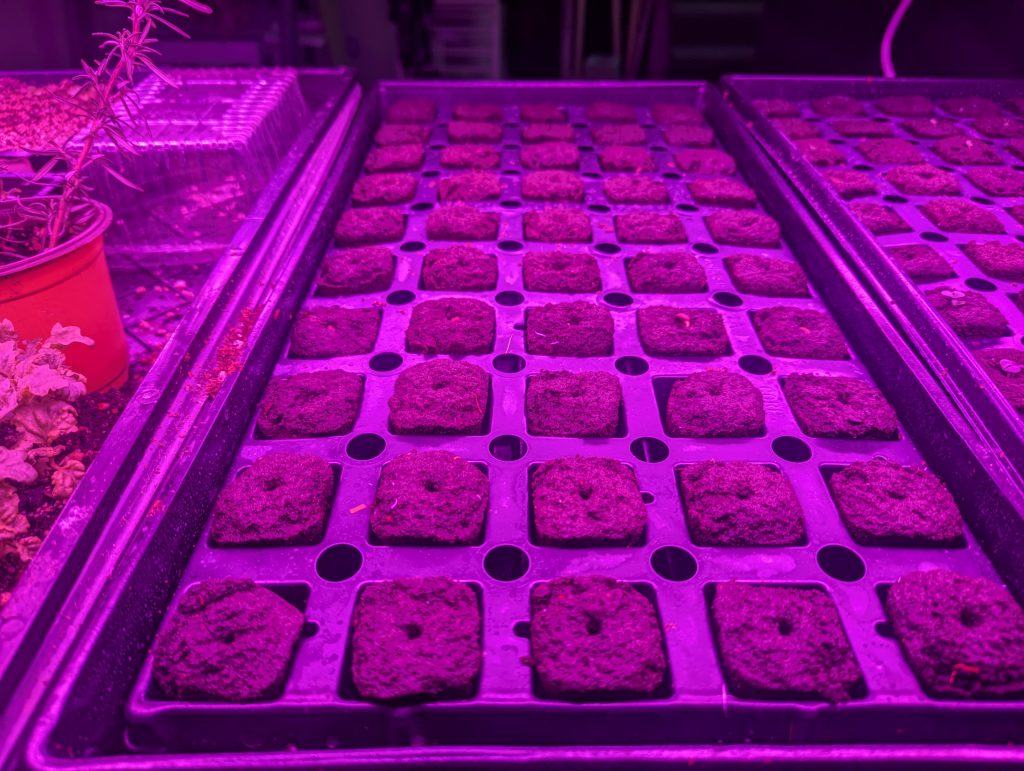
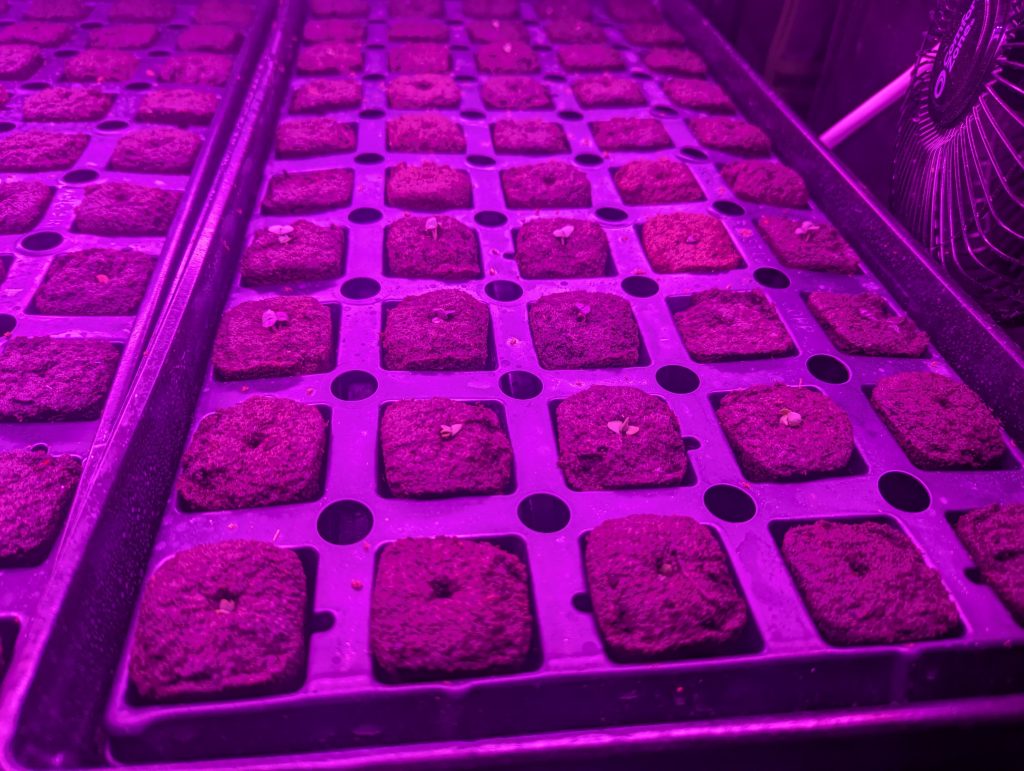
First four rows are planted out, from front to back: Aji Amarillo (not germinated), Purple Passionflower (not germinated), White Sage (not germinated), Hibiscus/Roselle (germinating and so stinkin’ cool to watch as it lifts itself from the planter! This would be a great seed to put on a timelapse!)

From front to back: Lime basil, Lemon basil, Osmin basil, Corsican basil, Za’atar oregano variety, Nepitella, White Sage, common thyme, orange thyme, biquinho red pepper

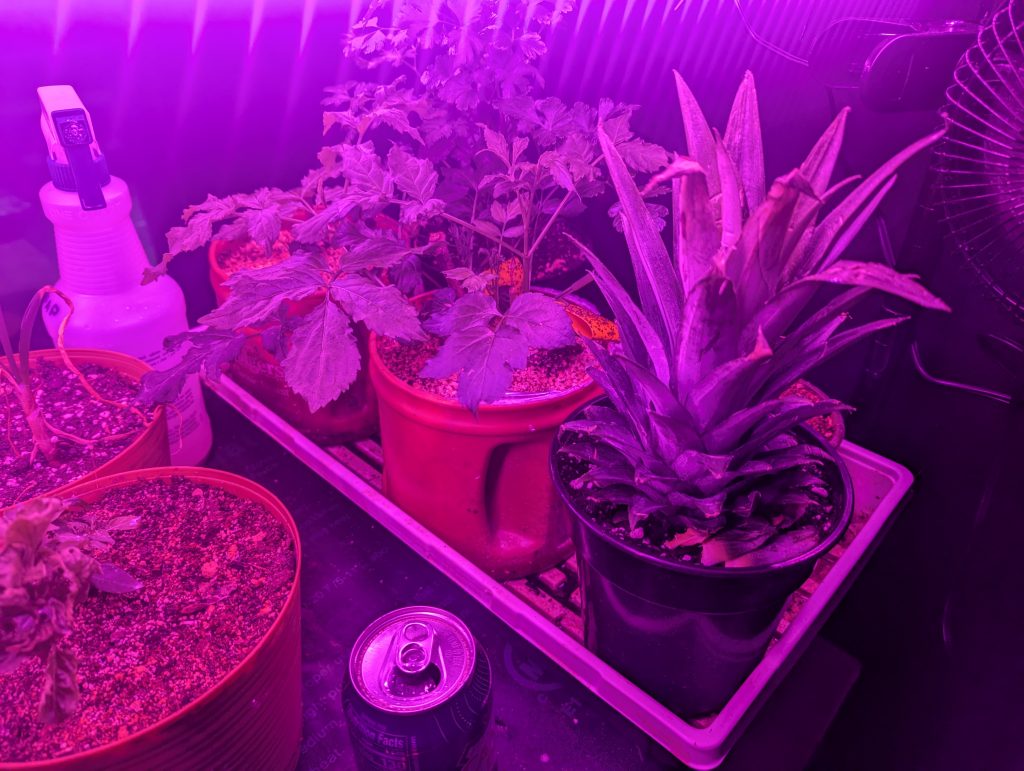
Pineapple top, black edlerberry (Bob Gordon), parsley, thai chili peppers

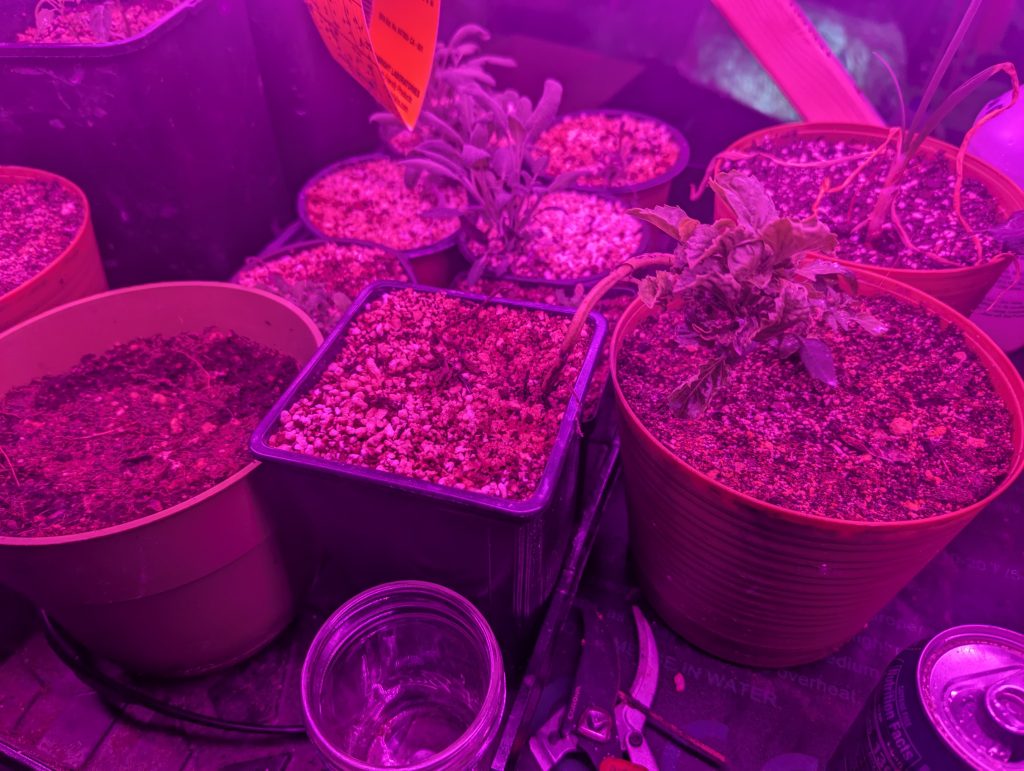
Thai chili pepper, walking onion, common sage, saber/seratta basil, the empty looking pot is turmeric that is germinating slowly.

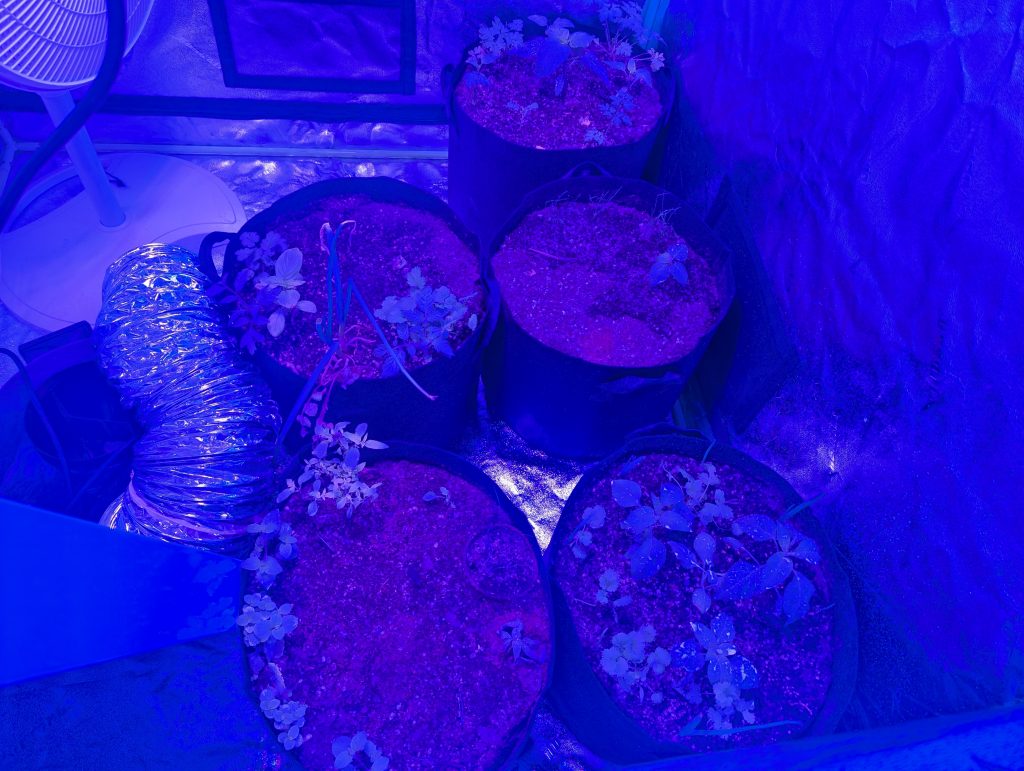
These three pots are big old smorgasbord containers! One of them is ginger with 5 nubs, two of them are turmeric with 5+ nubs each, they all have green onion roots planted…and I genuinely can’t remember what else! Oh! a sprouted garlic clove! >.<

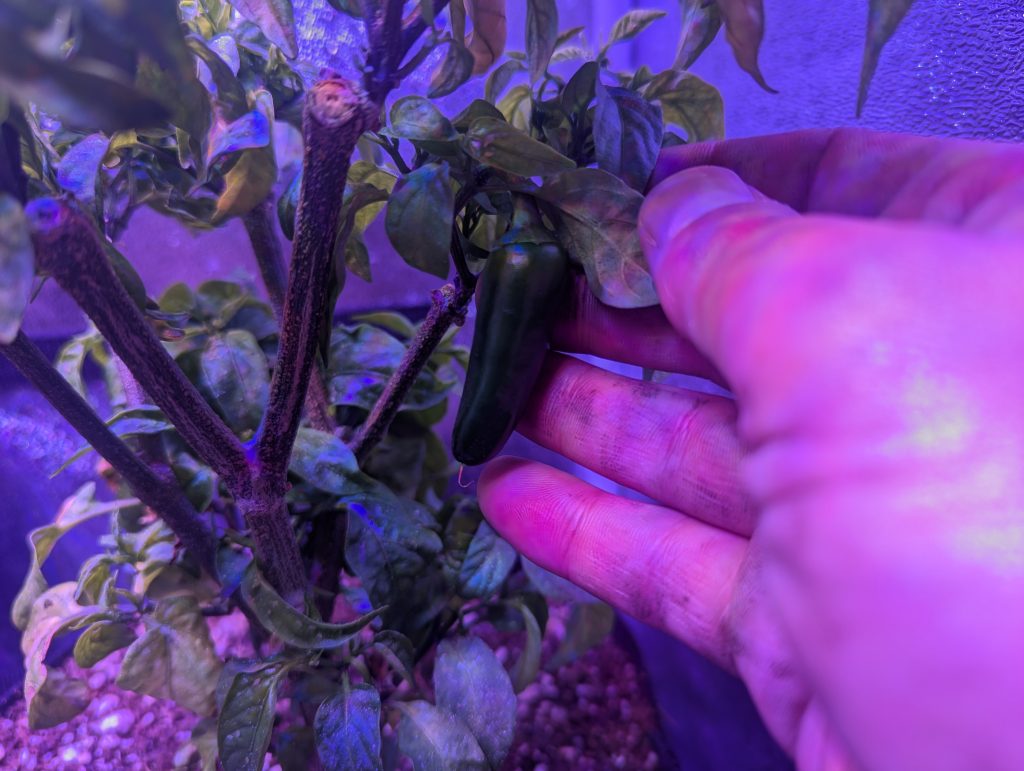
Three “Craig’s Grande” jalapenos that are being overwintered after providing a bumper crop for their seed saver, our neighbors!

Look at this overachiever Craig fruiting on an 18/6 light cycle and under veg lights!

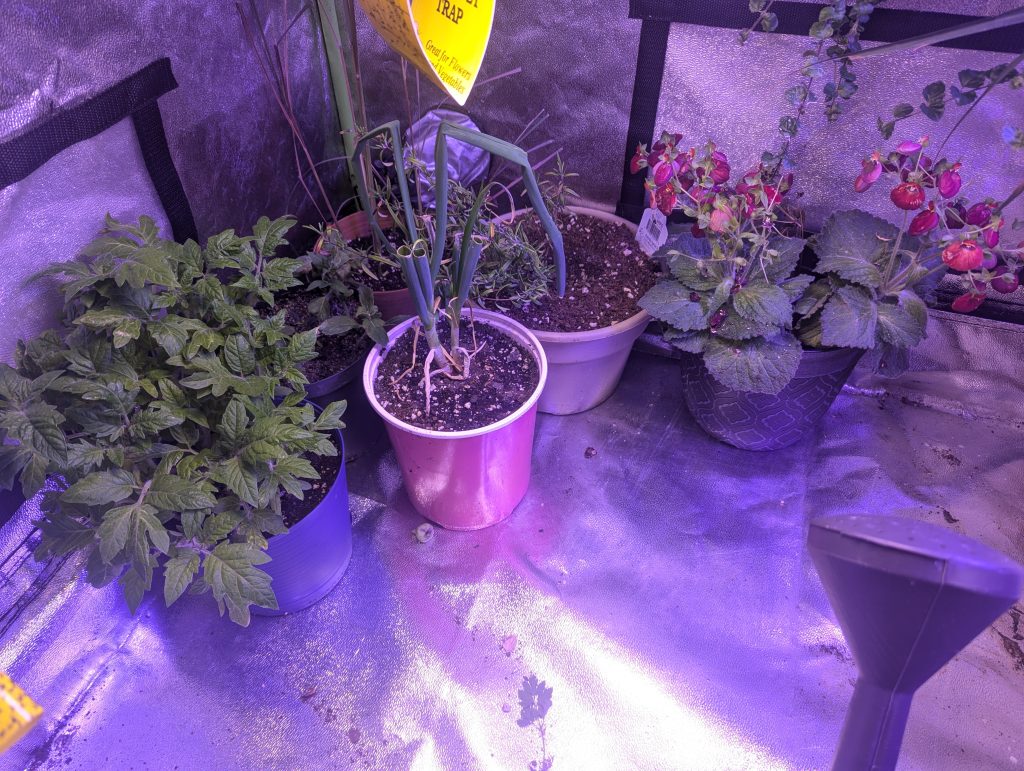
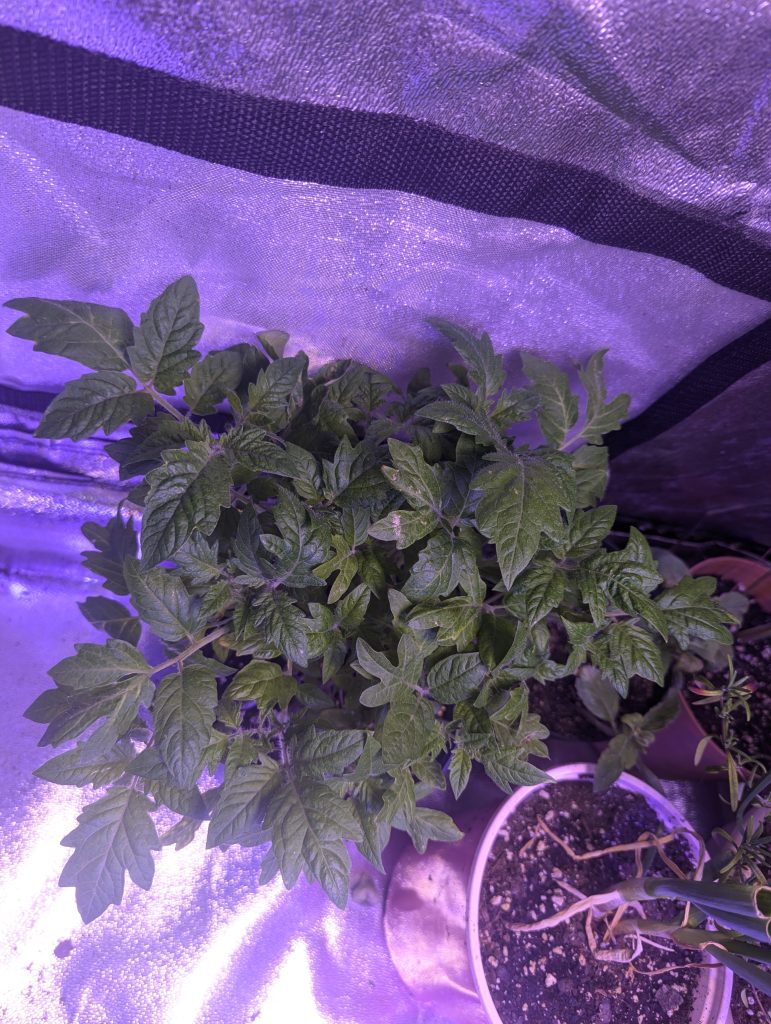
4’x4′ Tall tent: Lemongrass, thai basil, coin purse something or other flower, white queen tomato, walking onions, genovese and holy basil and some thyme in the cloner, tomatillo, rosemary.

Zoom into the left corner of the 4’x4′ tall.

The pepper palace! 4’x4′ shortie. This tent will need an entire post unto itself!

Posted on Leave a comment

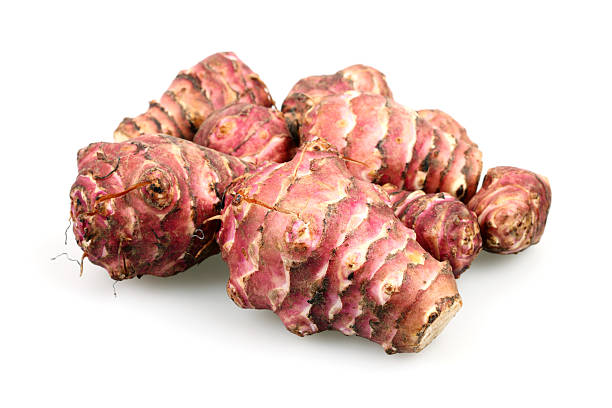
Sunchokes

sunchoke

Sunchokes, or Jerusalem artichokes, are tubers from a sunflower species with a nutty, sweet flavor. Eaten raw, sunchokes add a delightful crunch to salads, with a consistency similar to water chestnuts, or a sweetness when roasted. Hardy and decorative, sunchokes thrive in various climates, making them a favorite among chefs and gardeners alike!

The History of Sunchokes

Indigenous peoples of North America used sunchokes (Helianthus tuberosus) extensively as a nutritious and reliable food source. Tribes such as the Huron, Iroquois, and other Eastern Woodland peoples cultivated and harvested the tubers for sustenance, particularly during the fall and winter when other crops were scarce.

Sunchokes were often cooked by roasting, boiling, or baking in earth ovens. These methods enhanced their natural sweetness and made them easier to digest. Some tribes also dried the tubers for long-term storage or ground them into flour-like powder for use in stews and bread-making.

In addition to being a food source, sunchokes played a role in Indigenous agricultural practices. They were planted alongside other staple crops like corn, beans, and squash in companion planting systems that improved soil health and supported sustainable farming.

Medicinally, some tribes valued sunchokes for their potential health benefits. Though specific uses varied, the tubers’ high nutritional content, including fiber, vitamins, and minerals, likely supported general health and well-being.

In the early 1600s, French explorer Samuel de Champlain encountered sunchokes in what is now Canada. He introduced them to Europe, where they gained popularity, particularly in France and Italy. Their slightly sweet, nutty taste and adaptability in various dishes made them a culinary favorite.

The name “Jerusalem artichoke” is believed to be a linguistic twist: “Jerusalem” may have come from “girasole,” Italian for sunflower, referencing the plant’s appearance. “Artichoke” was likely added due to the tuber’s similar taste to artichoke hearts.

By the 17th century, sunchokes were common in European gardens and kitchens but fell out of favor due to their association with famine food during difficult times.

Modern interest in sunchokes resurged in the 20th century, fueled by the organic and farm-to-table movements. Their nutritional benefits, especially high inulin content for gut health, have made them popular among health-conscious eaters and chefs worldwide. Today, sunchokes are considered a unique and versatile ingredient in both traditional and gourmet cuisine.

Growing Sunchokes

Growing sunchokes (Helianthus tuberosus) is relatively easy due to their hardiness and adaptability. *Important Note* These are not invasive, they are highly aggressive growers and will spread dramatically. Being a North American native, these perennial tubers thrive in a nearly every climate and with little to no extra care Here’s how to cultivate them successfully:

Sunchokes prefer full sun and well-drained, moderately fertile soil but tolerate various conditions, including poor soils. Plant tubers in early spring after the last frost or in fall before the ground freezes. Space them 12-18 inches apart in rows about 3 feet apart, as plants can grow 6-10 feet tall. Tubers should be buried 4-6 inches deep with the eyes facing up.

Sunchokes are low-to-no-maintenance. Water regularly but avoid overwatering, which can cause rot. Once established, they are drought-tolerant. Adding compost at planting boosts growth, but they don’t require heavy fertilization. Tall plants may need staking to prevent wind damage but are pretty much immortal and will keep growing and blooming so long as the stems don’t break.

Sunchokes are hardy in USDA zones 3-9, surviving temperatures down to -30°F (-34°C). They endure both hot summers and cold winters, making them highly resilient. Their deep roots help them withstand drought and poor soil conditions.

Harvest after a few frosts because each frost converts inulin to fructose. Dig carefully to avoid damaging the knobby roots. Sunchokes can be left in the ground for winter storage or stored in a cool, dark place for several months.

More Than Sunflowers – Eat the Tubers! Sunchokes!

Sunchokes are versatile and adapt well to various cooking methods. Their nutty, slightly sweet flavor and crisp texture shine whether eaten raw or cooked. Raw sunchokes add crunch to salads, slaws, and veggie platters. Cooking enhances their sweetness and creamy texture—roast them for a caramelized exterior, boil or steam for mashing, or purée into soups for a velvety finish. They can be sliced thin and fried into chips or added to stir-fries and gratins. Pair them with herbs like rosemary, thyme, and garlic for savory dishes.
Posted on Leave a comment

Comfrey (Symphytum officinale)

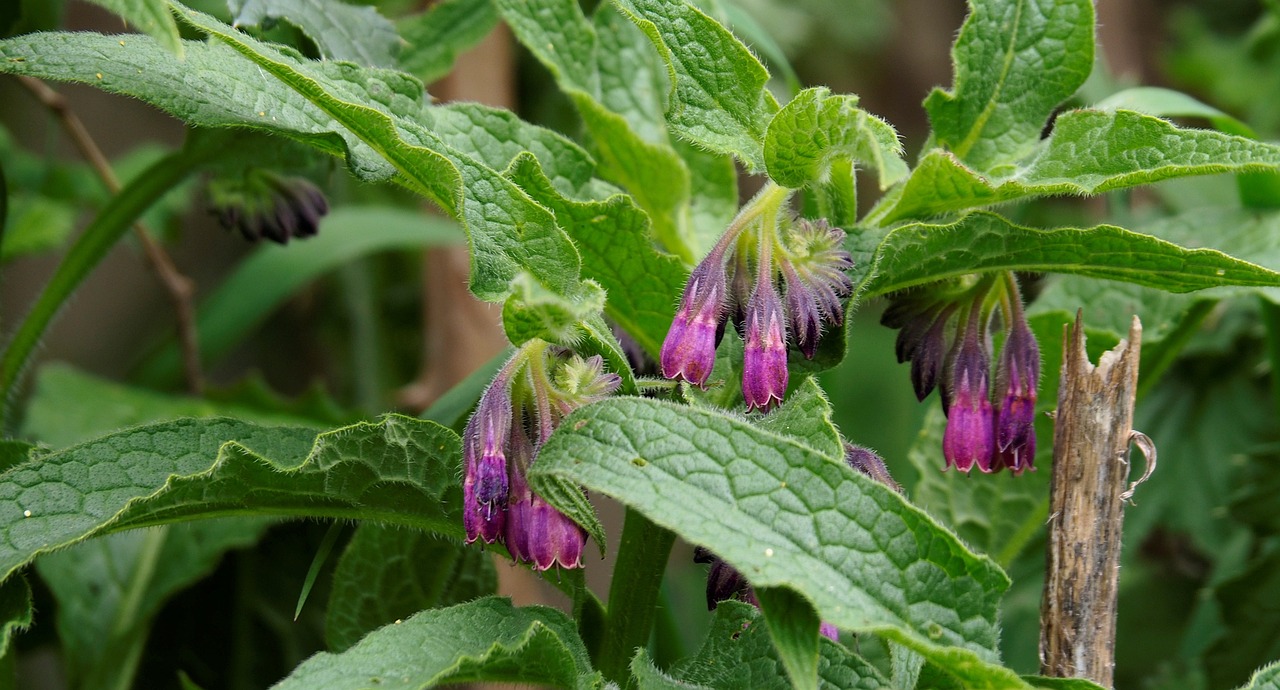
comfrey blooms

About Comfrey

Comfrey (Symphytum officinale) is a remarkable perennial herb that has long been revered for its medicinal, horticultural, and regenerative benefits. Native to Europe and parts of Asia, comfrey is often recognized by its broad, hairy leaves and clusters of bell-shaped purple, blue, or white flowers. In traditional herbal medicine, comfrey has been used for centuries to treat a variety of ailments, most notably for its ability to heal wounds, reduce inflammation, and promote the repair of bones and tissues. The plant is rich in allantoin, a compound that stimulates cell regeneration, making it a popular ingredient in salves and poultices for treating bruises, sprains, and minor fractures. Additionally, comfrey leaves and roots have been used to make teas and topical treatments that soothe skin irritations and support joint health, although modern herbalists advise against internal use due to potential liver toxicity from its pyrrolizidine alkaloids.

In horticulture and permaculture, comfrey plays a vital role as a dynamic accumulator and nutrient powerhouse. Its deep taproot, which can extend several feet into the soil, allows comfrey to mine essential minerals like potassium, phosphorus, and calcium from the subsoil and bring them to the surface. This makes comfrey an excellent natural fertilizer and soil conditioner when its leaves are used as a mulch or compost activator. Gardeners often plant comfrey near fruit trees and vegetable beds to enhance growth and productivity, as it improves soil fertility and helps retain moisture. Its rapid growth and ability to thrive in diverse conditions make it a perfect choice for creating green mulch that suppresses weeds and builds healthy, living soils. Comfrey’s use as a chop-and-drop plant in permaculture systems is well-established, where its leaves are cut several times a year and left to decompose in place, enriching the soil and nurturing surrounding plants.

In regenerative agriculture and permaculture design, comfrey stands out as a key plant for restoring degraded ecosystems. Its robust root system prevents soil erosion, while its fast-growing nature and high biomass production help sequester carbon and build organic matter in the soil. Comfrey’s nitrogen-fixing ability, though indirect, supports other plants in polycultures and food forests by improving the availability of essential nutrients. In addition to its soil-building properties, comfrey serves as a valuable forage crop for livestock, providing a protein-rich feed that supports healthy animal digestion. Its versatility and ecological benefits make comfrey an indispensable plant in sustainable farming practices, as it contributes to soil regeneration, biodiversity, and resilient landscapes. By integrating comfrey into garden and farm systems, we can harness its powerful regenerative properties to create healthier, more productive ecosystems that align with nature’s cycles.

Here are three common preparations of comfrey, along with their instructions and benefits:

1. Comfrey Healing Salve

Comfrey salve is popular for treating minor wounds, sprains, bruises, and skin irritations due to its high allantoin content, which promotes cell regeneration.

Ingredients:

  • 1 cup dried comfrey leaves
  • 1 cup olive oil (or other carrier oil)
  • 1/4 cup beeswax
  • Optional: Essential oils like lavender or tea tree for added healing

Instructions:

  1. Infuse the oil: Place dried comfrey leaves and olive oil in a jar, then heat gently using a double boiler for 2-4 hours or leave to infuse in a sunny window for 2 weeks.
  2. Strain the oil through cheesecloth or a fine mesh sieve.
  3. Melt beeswax in a double boiler and mix with the strained comfrey oil.
  4. Pour the mixture into small jars or tins and allow it to cool and solidify.
  5. Store the salve in a cool, dry place, and apply as needed to skin.

Source: “Rosemary Gladstar’s Herbal Recipes for Vibrant Health” by Rosemary Gladstar.


2. Comfrey Compost Tea

Comfrey compost tea is an excellent liquid fertilizer that delivers vital nutrients like potassium, calcium, and phosphorus to plants, improving growth and health.

Ingredients:

  • A large bucket with a lid
  • 1 part chopped comfrey leaves
  • 10 parts water

Instructions:

  1. Fill the bucket about halfway with chopped comfrey leaves.
  2. Add enough water to completely cover the leaves.
  3. Cover the bucket with a lid and let it steep for 3-4 weeks, stirring occasionally. It will develop a strong odor as it ferments.
  4. Strain the liquid and dilute it with water (1:10 ratio) before applying to plants.
  5. Use as a foliar feed or soil drench to boost plant health.

Source: “The Permaculture Handbook” by Peter Bane.


3. Comfrey Poultice

A comfrey poultice is used for external application on bruises, sprains, or sore muscles to reduce inflammation and promote faster healing.

Ingredients:

  • Fresh comfrey leaves (or dried, rehydrated in warm water)
  • Gauze or a clean cloth

Instructions:

  1. Crush fresh comfrey leaves to release the juices. If using dried leaves, soak them in warm water until soft.
  2. Apply the mashed leaves directly to the affected area.
  3. Wrap the area with gauze or cloth to hold the poultice in place.
  4. Leave it on for 30 minutes to an hour, then remove and clean the area.
  5. Repeat as needed for pain relief and healing.

Source: “The Complete Herbal Handbook for Farm and Stable” by Juliette de Bairacli Levy.

Posted on Leave a comment

Herbal Additives for Chickens

Best Herbs for Chickens

Homeopathic, or natural, medicine is rapidly gaining traction in the poultry world. Oregano and Thyme, specifically, show serious potential to replace antibiotics. Not that much of what Perdue does should be emulated, but their widespread adoption of both Oregano and Thyme speaks to the credibility of the science considering they only exist to maximize profits.

The herb mixes sold at stores are astronomically priced for what they contain. Most are little more than mint, lemon balm, lavender, a few marigold and calendula flowers. Even in the great white north of Zone 5, I can grow virtually every herb from these mixes. Almost as awesome, I can buy the ingredients in bulk and mix them myself, combined with the herbs I have in season!

This realization led me to the following two combinations. One is for mixing in with feed and the other for spreading in nesting boxes and the coop.

Herbs for Chicken Feed

The herbs beneficial to chickens are numerous! So numerous, it can be overwhelming to figure out what they need and where to focus your budget. I aim to help here!

In a food processor or Ninja, combine:

  • Dried garlic (minced) – use whatever is most economical to purchase or create
  • Dried oregano
  • Dried thyme
  • Dried basil
  • Dried lavender
  • Dried rosemary

Herbs for Chickens – Environment

Posted on Leave a comment

Ölandsk Dwarf

Ölandsk Dwarf
Ölandsk Dwarf

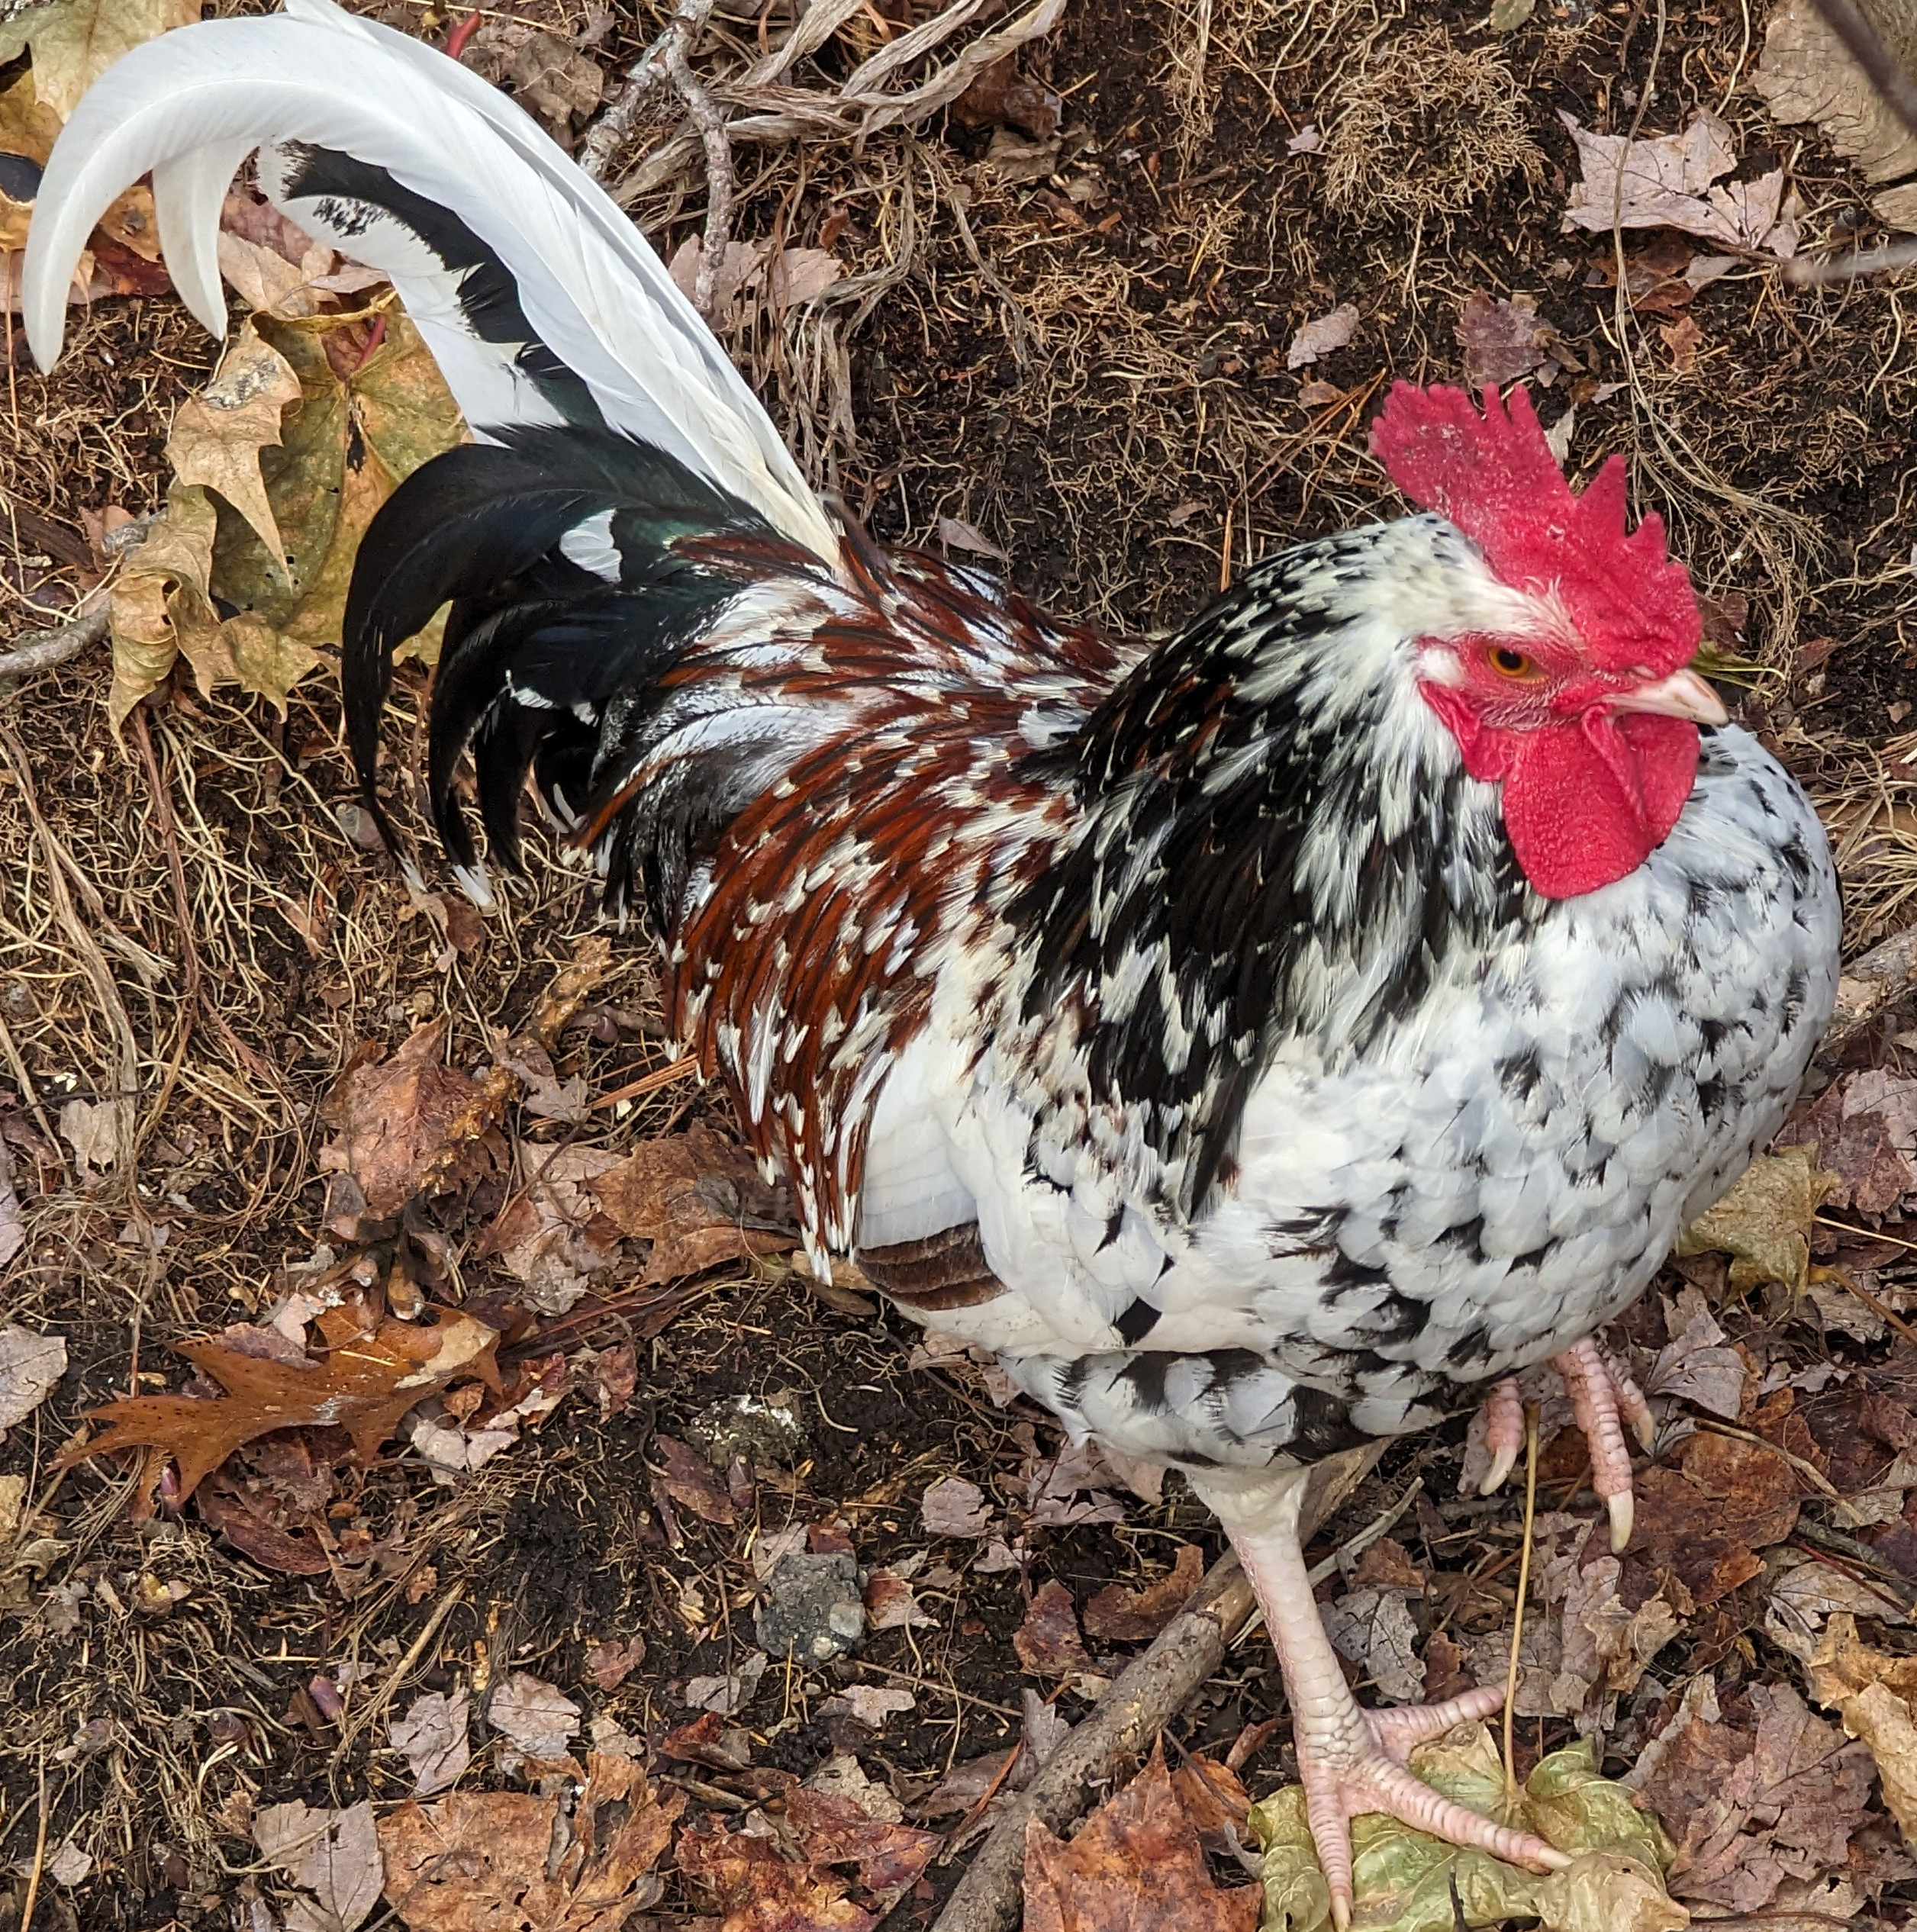
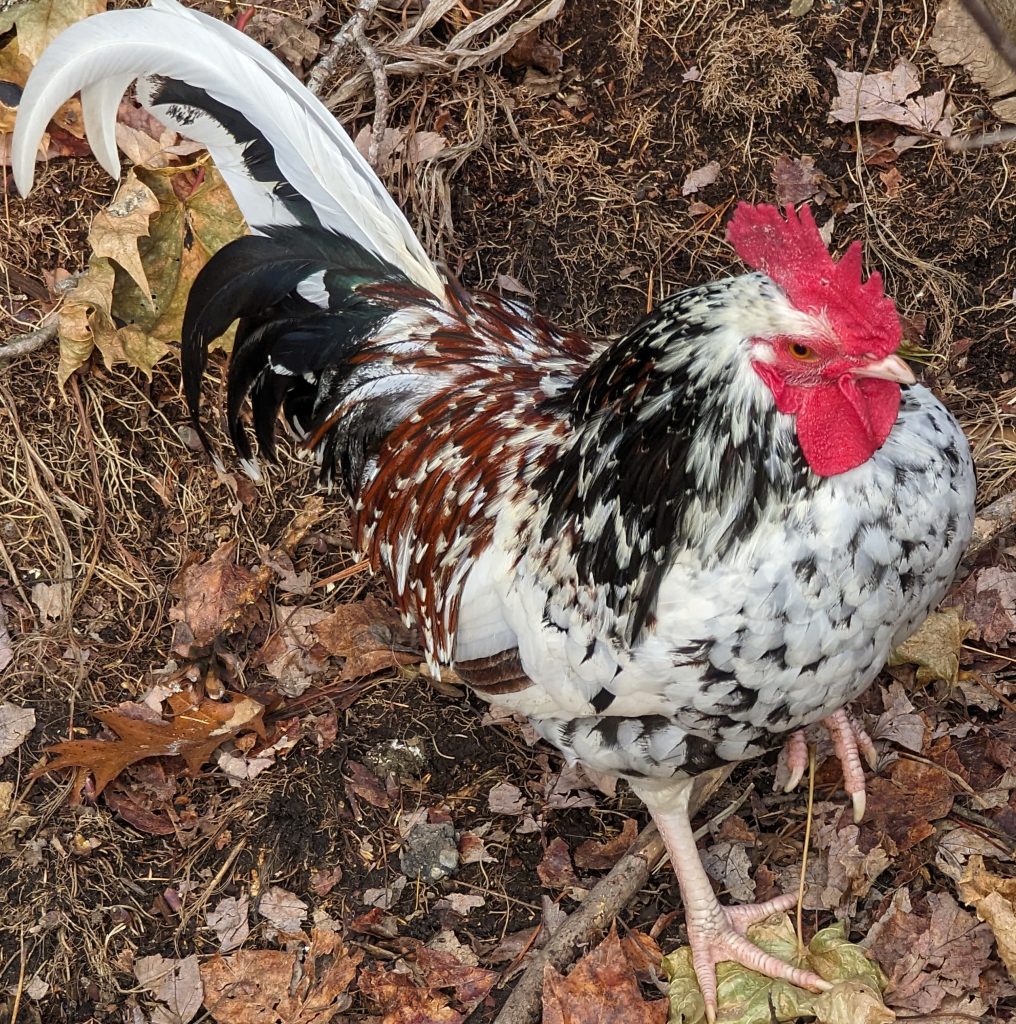
The Ölandsk Dwarf is an amazing little bird! Originating from the islands of Öland in Sweden, their genetics are debated but the thing we do know, for sure – they are a landrace breed that has naturally reproduced only bringing forward the best, most adaptable, most utilitarian traits. Greenfire Farms graced the US by importing this breed twice over to keep genetics clean.

Ölandsk Dwarves are one of the smallest, regularly-laying breeds available which makes them ideally suited to any homestead worldwide! They average about 200 eggs a year and only take a short break between fall and winter before laying once more – without supplemental light! They are categorically “small” eggs but the Ölandsk Dwarf lays so well that you can easily use two eggs and it’s just right.

These birds are equally at-home confined to a coop and enclosed run as they are free-ranging the wide-open. They have a great ability to fly and they are all quite wary of predators – both roo and hen alike! Ölandsk Dwarves are amazing foragers, too. They do need supplemental feed, even if free-ranging, but can do well nearly sustaining off of forage. They are excellent de-buggers and their small size means less damage to the garden! Keep in mind, though, they are tenacious when they sense a snack!

Ölandsk Dwarf Broodiness

Online reports vary regarding how well the Ölandsk Dwarf mothers but my personal experience, with my flock and genetics is they are phenomenal mothers! We have a partnered pair of hens we call Thelma and Louise. They are currently raising their second clutch this year. We do not do any incubation (unless there is a medical need) and between Thelma, Louise, and Cauliflower they’ve hatched out 6 chicks this year (2024) alone. Cauliflower ran the daycare during the first round and was ultimately caring for 9 babies herself. I seem to be the in the minority experiencing the Ölandsk Dwarf being not only good at hatching, but also in mothering – but I suppose this is more reason to choose Heart & Soil genetics!

Posted on Leave a comment

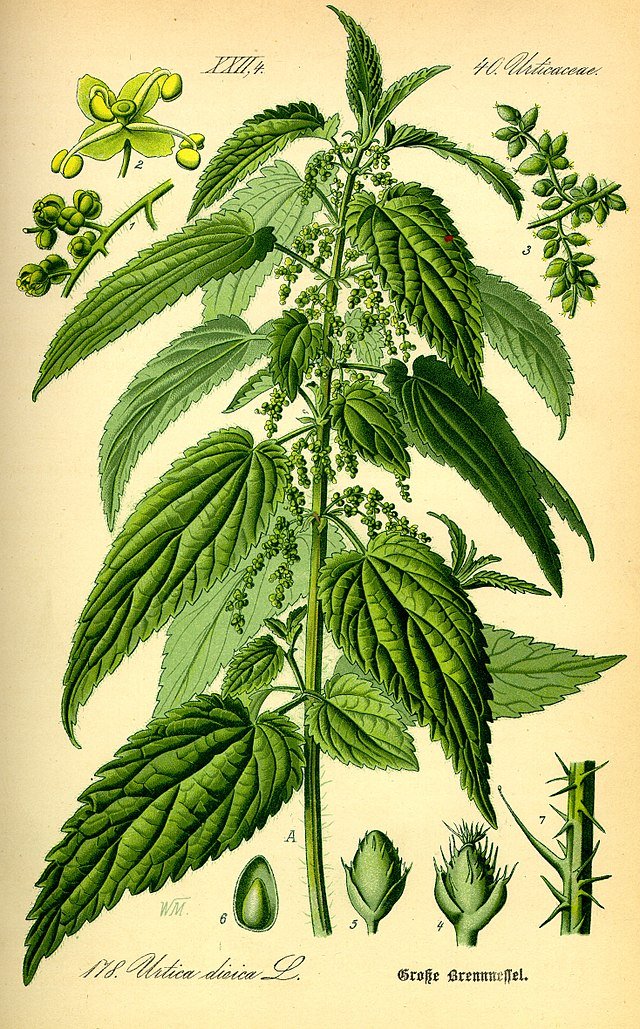
Stinging Nettle

Much More Than a Burning Nuisance

For a much deeper dive, please check out: https://blog.ncascades.org/naturalist-notes/two-burning-houses-a-natural-history-of-stinging-nettle/

Uses

In the Garden

  • Steeping nettle in a container of water makes a fantastic, nutrient-rich fertilizer with good levels of nitrogen, magnesium, and calcium. Additionally, those pesky hairs become a benefit providing bio-available silica. This is a great way to make use of the woody, fibrous bits that aren’t as tasty.
    • Hacking down the aggressive grower and using it as a green mulch around your gardens is another way to leverage and benefit from its substantial biomass.

Posted on Leave a comment

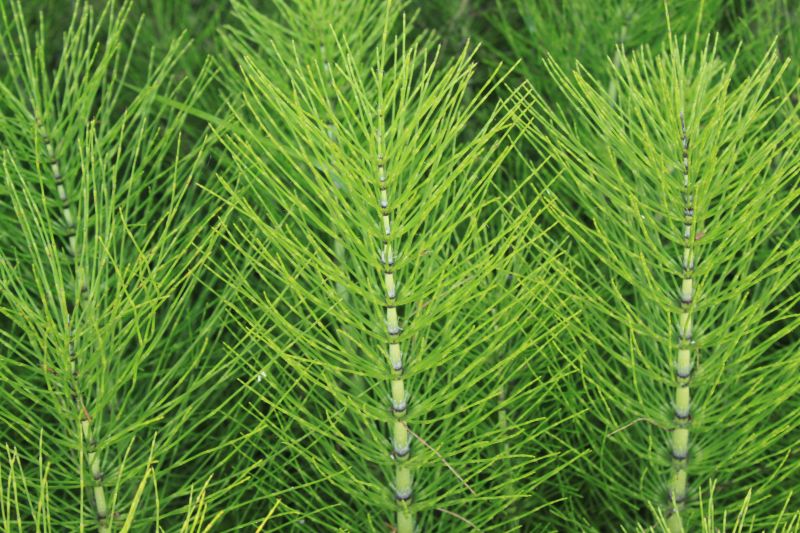
Horsetail Garden Potions

2 cups fresh horsetail (1 cup dried)
10 cups water

Bring to a rolling and vigorous boil then reduce heat and simmer for 30 minutes. As the potion cools, it will start smelling…funky. It’s best to do all this – or at least let it cool – outdoors.

If you find your plants are lacking silica (common in tomatoes and peppers), a soil drench or foliar spray of 1 part horsetail “tea” and 4 parts water should serve you well!

Mind the silica in the horsetail. It’s very similar to fiberglass insulation and can cause irritation in those of us that are softer-skinned. It’s recommended to wear gloves when handling any variety of horsetail; especially when it’s dried!

For some more information about this topic, its multitude of uses and a plethora of other homesteading deep-dives, please check out the MOFGA resource: https://www.mofga.org/resources/health/horsetails/

To purchase organic, hand-picked horsetail dried, or fresh, please click here: https://heartandsoilstead.com/shop/organic-horsetail-dried